I've made several sets of these baskets over the last few years and have found that they make excellent gifts. Thus, I always try to have a couple on hand for when a gift giving situation arises.
The "Nesting Basket Trio" pattern comes from
Scroll Saw Magazine's
Creating Wooden Boxes on the Scroll Saw book. Their instructions are good so I won't try to duplicate all that here. Instead, I'll share my experience with cutting these baskets and try to point out some less obvious details that make the project turn out better.
There are several ways to attach a pattern to the wood with varying success. I have found that spray adhesive works well if is not applied too thick. oops!
The patterns are for three separate bowls. Note: the various rings for each basket comes from all three patterns. Thus, you have to cut out three baskets at a time. The article says that the project can be completed in a day. Hmm. Maybe so for the advanced woodworker, but not me. Your mileage may vary.
The baskets turn out beautifully when cut from Red Oak. I haven't tried other hard woods yet, but soft woods (pine) tend to break during the cutting and sanding processes.
I pencil in the cut angles in the center of the pattern since the lines indicating the corresponding cut angles for each ring are removed with the first cut. After I complete a cut, I cross off the corresponding angle in the center of the pattern.
Here, I'm adjusting the scroll saw table top to the next angle indicated in the pattern.
I mark the bottom edge of each ring immediately after cutting it so I can keep track of it later since some of the rings are very similar in size.
I found that a bench sander (if used G-E-N-T-L-Y) can fix the troublesome problems shown above. The first happens when the blade reaches the end of the cut and leaves a small burr. The burn mark in the lower picture is caused by the blade moving too slowly through the wood. In this case the blade was too dull. (Expect to use at least one blade per pattern when using a hard wood).
Here's the same piece after removing burn marks.
All three baskets cut out. Ready to sand and assemble.
Using a sanding wheel on the drill press for the first round of sanding. Be careful to not sand too long in one spot and make the wall of the ring too thin.
Hand sanding with fine grit sandpaper for the final round.
OK - sanding finished, now ready to assemble a basket!
I start by pouring a blob of glue in one of these nifty glue trays I got at WoodCraft. (Yes, my wife wanted one too). They're made of silicone and dried glue easily pops right out of them.
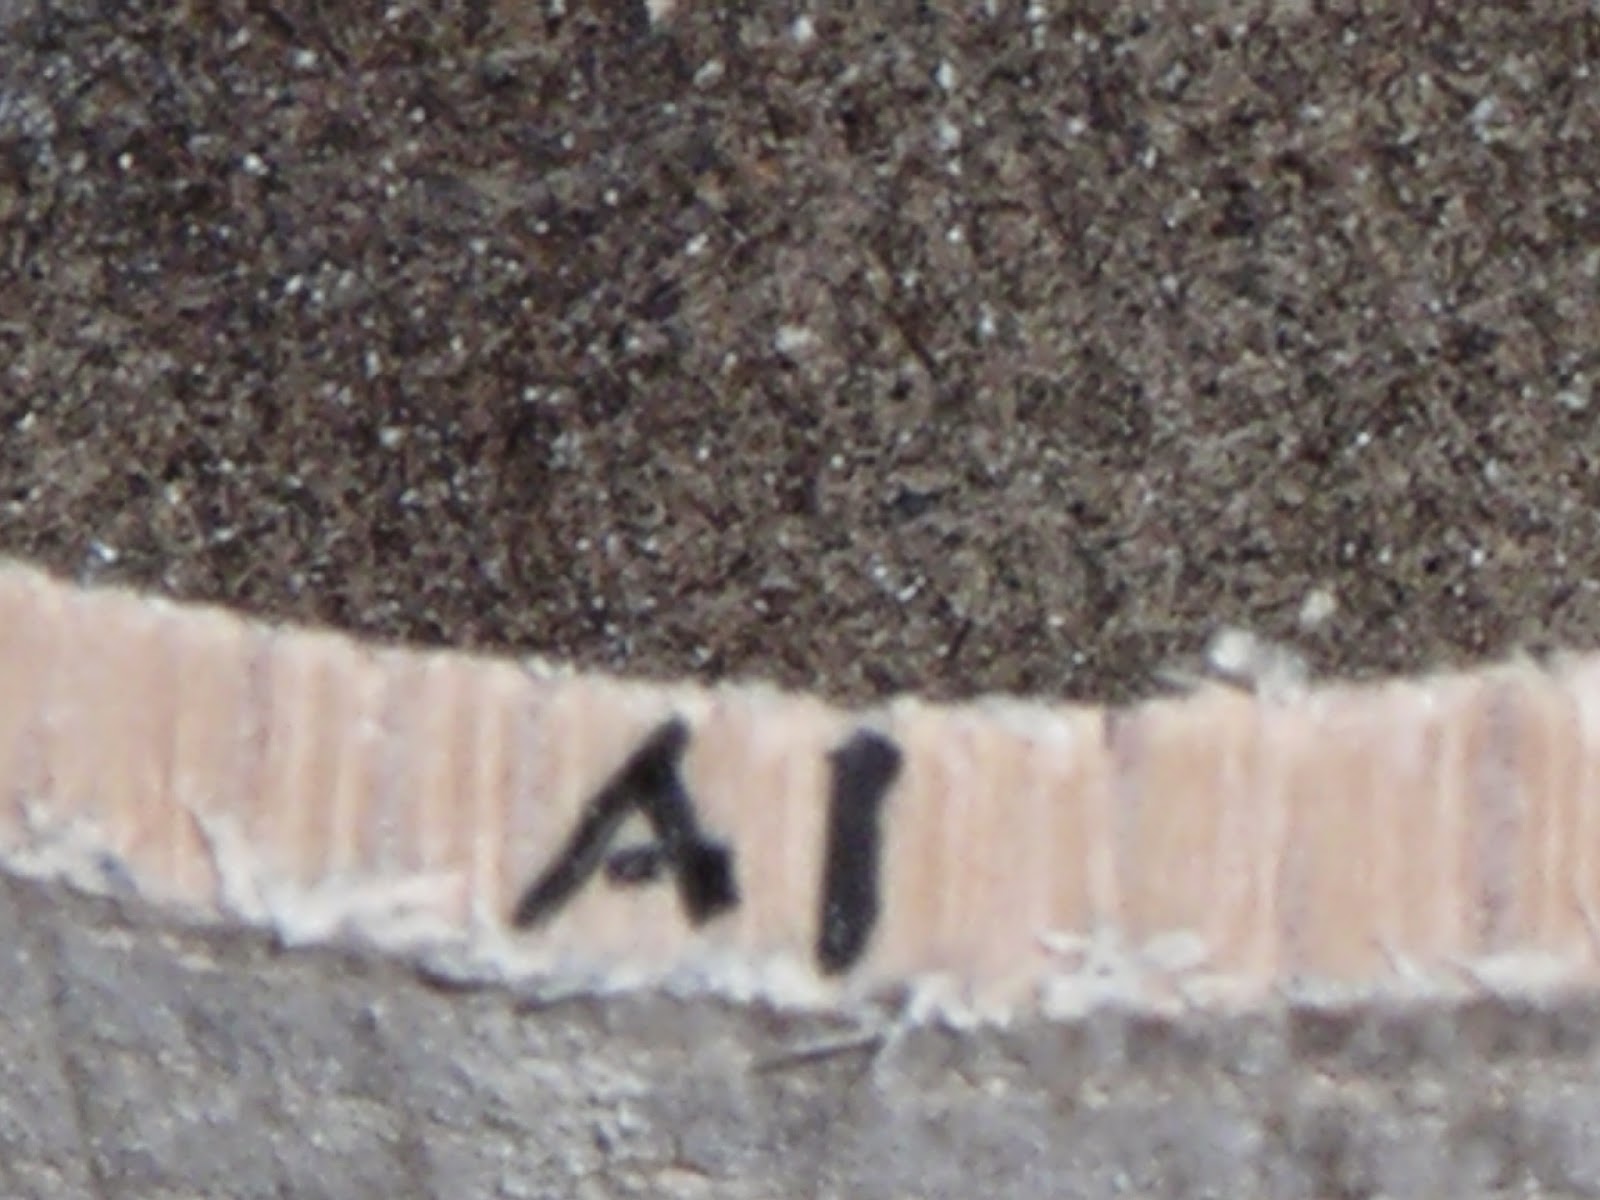
I place the largest basket ring (A1 in this photo) upside down on the bench. I then use a Q-Tip to dab a small amount of glue on the places where the next ring will attach (about half way between each "hill" and "valley").
I align the next ring (A2 in this photo) and set it in place. I then take another Q-Tip and wipe away excess glue.
I repeat the process for the remaining rings and base. I then set a light weight on it and let the glue dry completely.
Assembled basket.
If a finish is desired, apply a food safe butcher block finish lightly by rubbing it on with a rag. Sand between coats.
Tools Used: Scroll Saw, Drill press with sanding flap wheel
Total Cost: (1x12x24 Red Oak board, spray adhesive, saw bkades... already had sanding wheel, sand paper, glue and Q-Tips)


No comments:
Post a Comment
I like hearing from you!